When it comes to enhancing the quality of harvested cannabis, traditional curing methods often involve glass jars and regular burping. However, there’s an alternative technique gaining attention among cannabis enthusiasts—water curing. This method may sound unconventional, but it offers unique benefits by using water to “wash” away unwanted compounds and refine the final product.
What Is Water Curing?
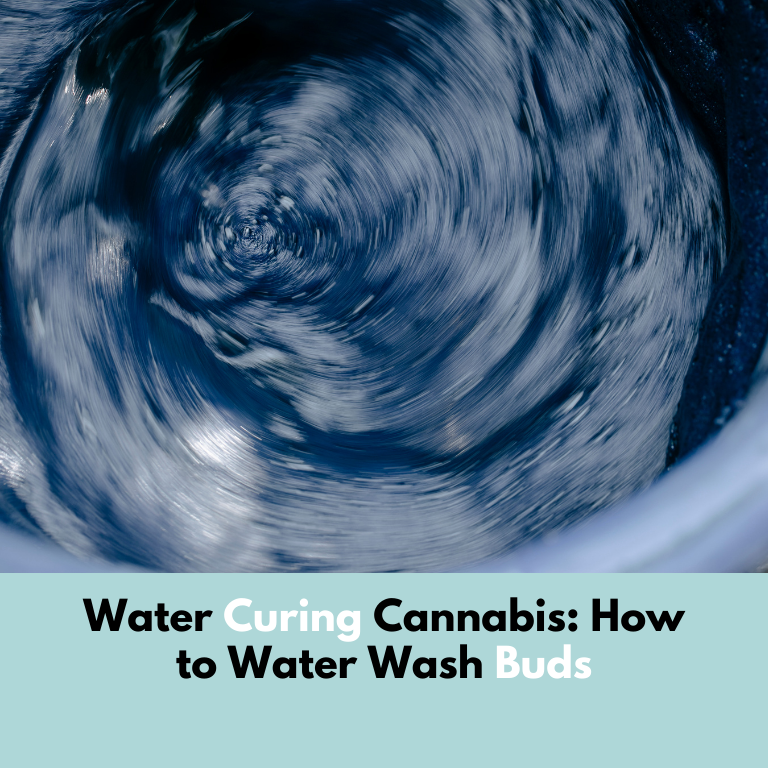
Water curing is a post-harvest process where freshly dried or semi-dried cannabis buds are soaked in water over several days. Unlike traditional curing, which relies on air and time, water curing uses the solvent properties of water to remove undesirable substances like:
Chlorophyll
Residual nutrients
Sugars
Pesticides
Other water-soluble compounds
This process can result in a smoother smoke, improved purity, and faster curing time.
Why Choose Water Curing?
While it may reduce the aroma and flavor (terpenes can be lost in the process), water curing is popular for:
Smoother smoking experience
Reduced harshness on the throat and lungs
Faster curing time compared to air curing
Cleaner taste, ideal for medical users or those with sensitivities
How to Water Cure Cannabis: Step-by-Step
What You’ll Need:
Dried or partially dried cannabis buds
Glass mason jars or a food-safe container
Distilled water (to avoid contamination from tap water)
A dark, cool place for storage
Paper towels or mesh screen for drying
Step 1: Prepare the Buds
Trim your buds and ensure they’re not too wet—ideally, they should be partially dried. Fully fresh buds can be used, but water curing is more efficient when they’ve dried slightly.
Step 2: Submerge in Water
Place the buds in the container and completely submerge them in distilled water. Use a weight or mesh to keep them below the surface if they float.
Step 3: Daily Water Changes
Change the water every 12–24 hours for 7 days. This is critical to prevent mold and to ensure the impurities are being flushed out. You’ll notice the water becoming darker each day, indicating the removal of unwanted compounds.
Step 4: Final Dry
After a week, remove the buds from the water and pat them dry with a paper towel. Then, place them on a drying rack or screen in a cool, dark, and well-ventilated space. Let them dry completely—this may take 2–4 days.
Step 5: Cure (Optional)
Though not necessary, you can follow up with a short traditional cure in glass jars for 3–7 days to help the buds stabilize.
Pros and Cons of Water Curing
Pros:
Removes harsh compounds
Faster than traditional curing
Produces cleaner smoke
Ideal for edibles (flavor isn’t as critical)
Cons:
Loss of aroma and flavor
More handling involved
Requires careful drying to prevent mold
Water curing isn’t for everyone—especially if you’re all about rich flavor and aroma. But for those who prioritize smoothness, purity, or are planning to use the buds in edibles or tinctures, it can be a game-changer. Whether you’re a curious grower or a seasoned connoisseur, water washing your buds is a method worth experimenting with.